
This is the last part of a three-part series. In part 1 I hardened a fresh VPS until nothing answered the public internet. In part 2 I served a real site through a Cloudflare Tunnel without opening a single inbound port. The box is sealed, and traffic reaches it only by coming down a connection the box dialed out.
Now I want to actually deploy things: push code, get a URL, have a database, roll back when I break it. I could hand-roll all of that with compose files and a reverse proxy, or I could put a small platform-as-a-service on the box and get a dashboard. I went with Dokploy. It is excellent, and installing it taught me the lesson part 1 promised: the moment Docker arrives, your firewall quietly starts lying to you.
Why a PaaS instead of just compose
Nothing here requires Dokploy. You can deploy with docker compose and an nginx config and a cron job for certs. The reason to use a PaaS on a personal box is the same reason people pay for Heroku or Railway: it collapses a pile of recurring chores into a dashboard.
- Deploy from a git repo or an image, with build logs and one-click rollback.
- Managed databases (postgres, redis, mysql) provisioned in a click.
- A reverse proxy (Traefik) that auto-routes a hostname to the right container, so you are not hand-editing nginx for every app.
- Environment variables, health checks, and restarts handled for you.
The trade is that it brings a whole Docker stack with it, and Docker manages its own firewall rules. That is the catch this post is really about, but first, the happy path.
Installing Dokploy
One important prerequisite: Dokploy's reverse proxy wants ports 80 and 443 on the host, so stop anything already bound there (in my case the throwaway python3 -m http.server from part 2). Then run the official installer over your Tailscale SSH session:
curl -sSL https://dokploy.com/install.sh | sudo sh
That one script does a lot. It installs Docker CE, initializes a single-node Docker Swarm, and brings up the Dokploy stack. When it finishes you have:
- Docker CE 28.5.0 with Swarm mode active (one manager node).
- Dokploy v0.29.8 itself, plus dokploy-postgres (postgres:16) and dokploy-redis (redis:7) as its backing services.
- Traefik v3.6.7 running as a standalone container, holding ports 80 and 443 on the host and routing by Host header.
- The dashboard listening on port 3000.
 Dokploy installs a Docker Swarm node with Traefik holding 80/443, the dashboard on 3000, and postgres and redis, all inside the sealed VPS and reached only through the outbound tunnel
Reaching the dashboard without opening port 3000
Here is the first instinct to resist: the dashboard is on :3000, so you might reach for ufw allow 3000. Do not. That is a public admin panel on the internet, which is exactly the kind of thing part 1 existed to prevent.
Instead, reach it the same way part 2 reached the web app: through the tunnel. Add an ingress entry so a hostname maps to the local dashboard port, route its DNS, and restart cloudflared:
# /etc/cloudflared/config.yml
ingress:
  - hostname: dokploy.example.com
    service: http://localhost:3000
  - hostname: app.example.com
    service: http://localhost:80      # Traefik, for your deployed apps
  - service: http_status:404
cloudflared tunnel route dns vps dokploy.example.com
sudo systemctl restart cloudflared
Then put an identity gate in front of that hostname with Cloudflare Access, so visiting dokploy.example.com requires logging in at Cloudflare before the request is ever forwarded to your box. The full chain becomes: browser, then a Cloudflare Access login, then down the tunnel, then localhost:3000. The dashboard is reachable to you and to no one else, and still no inbound port is open.
One detail worth internalizing: Cloudflare Access protects the hostname, not the box. It gates requests that arrive through the tunnel for that hostname. Hold that thought, because it is the hinge of the twist below.
Step through one request end to end and watch where it actually goes:
Follow one request to a deployed app
Step through every hop (or use ← → arrow keys). Notice the counter at the bottom never moves.
DNS resolves the hostname to a Cloudflare edge address, never to your origin. Your server IP is never exposed.
Deploying your first app
With the dashboard reachable, the first visit is a one-time admin registration (fresh install, no default credentials, so register immediately). After that, deploying an app is the part that feels like magic:
- Create a project, then an application inside it, pointed at a git repo or a Docker image.
- Add a database if you need one (a postgres service is a couple of clicks) and wire its connection string into the app's environment.
- Give the app a domain in Dokploy, say
app.example.com. Traefik now routes any request whose Host header isapp.example.comto that container. - Point the tunnel at it. The app rides on Traefik's port 80, which the tunnel already forwards (the
app.example.com -> http://localhost:80line above), so for a hostname Traefik already knows, you just route its DNS and restart cloudflared. - TLS terminates at Cloudflare's edge, so there is no Let's Encrypt to configure on the origin and 80/443 still never open to the world.
Add more apps by giving each a hostname; Traefik fans them out by Host header behind the one tunnel. That is the whole deploy loop, and it is genuinely pleasant.
The first deploy comes up empty, served over HTTPS at its own hostname with the box still sealed:
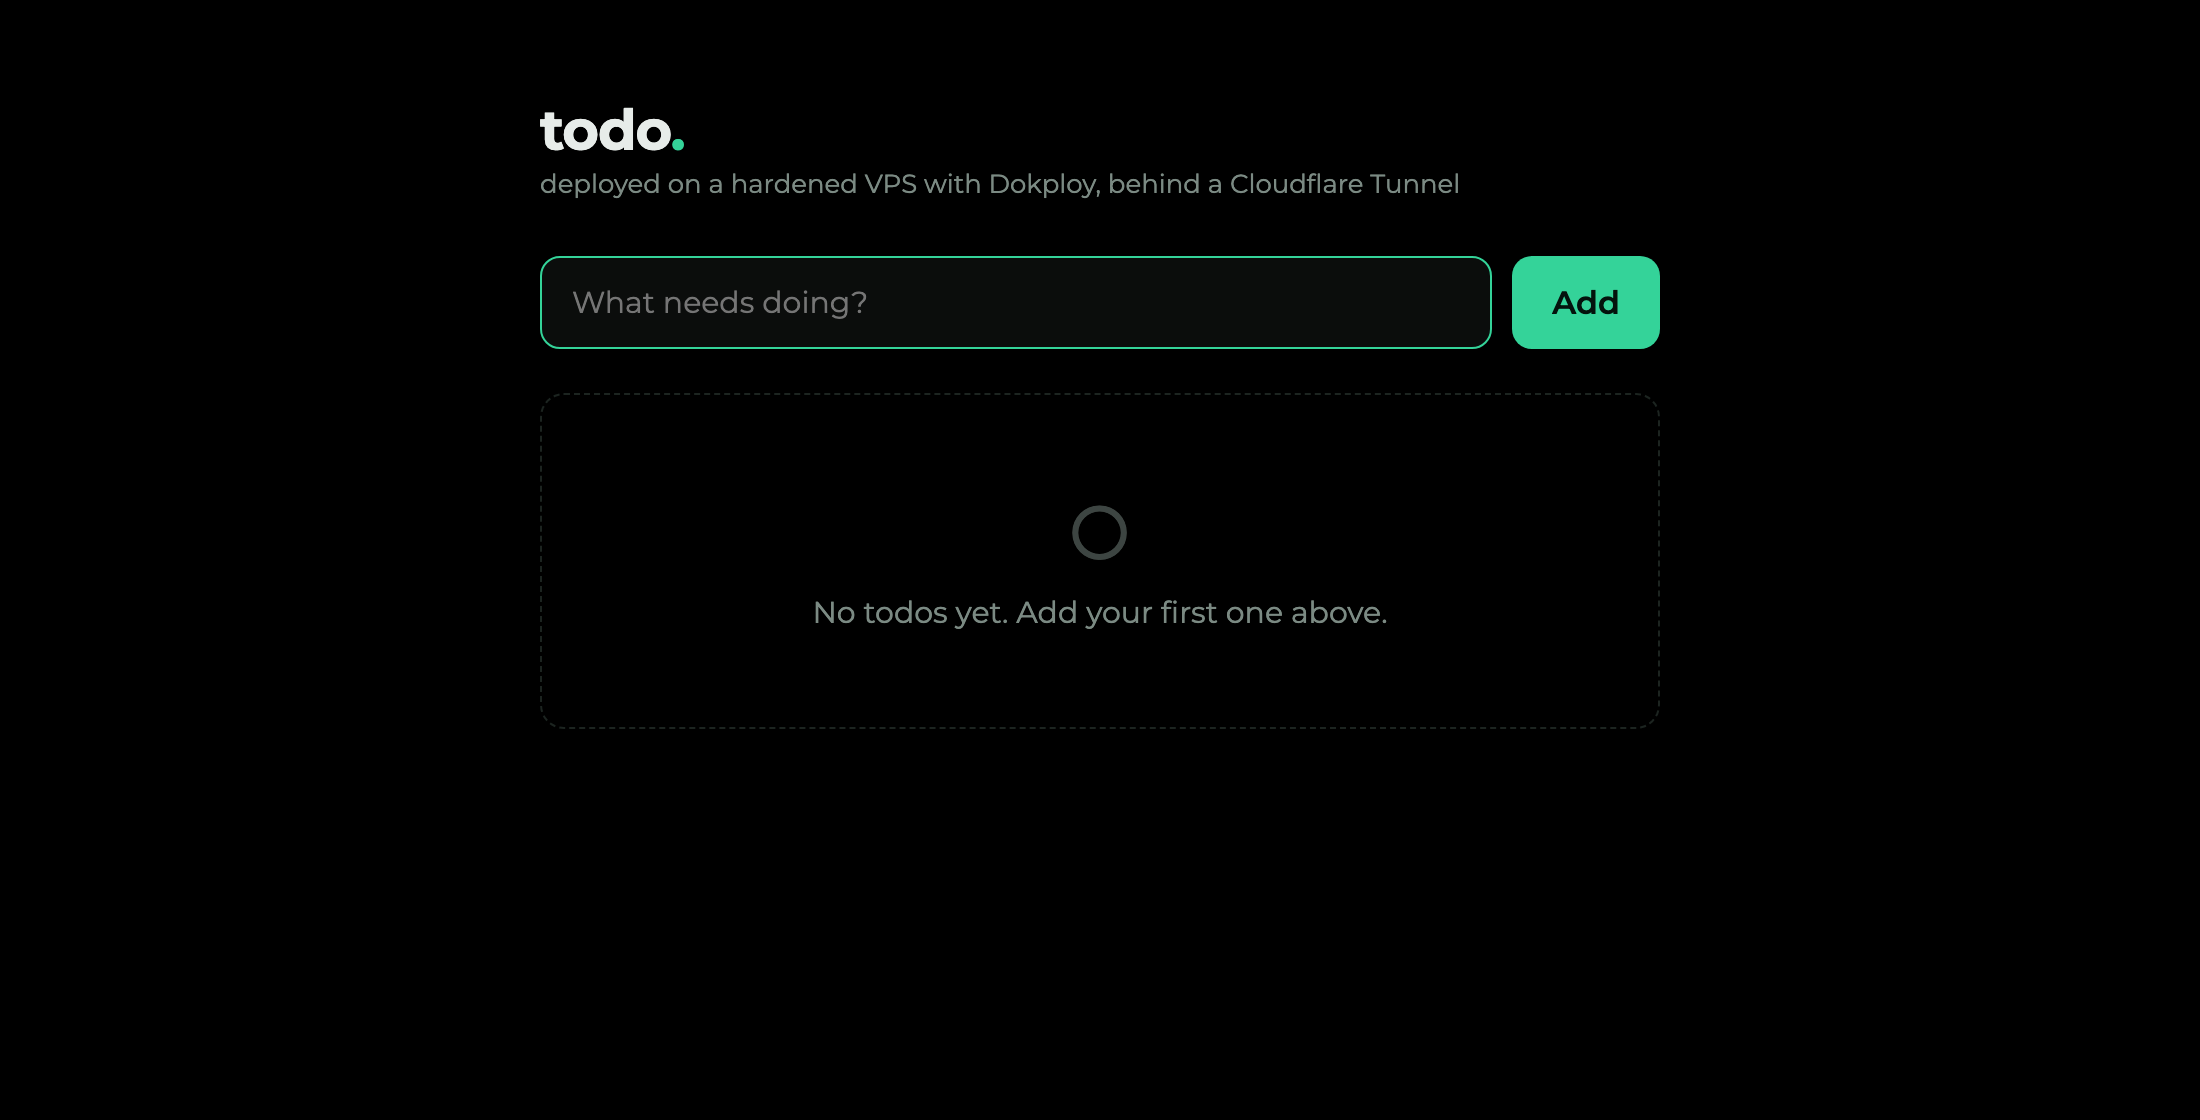 The freshly deployed todo app showing its empty state, "No todos yet", served at its own hostname through the tunnel
Three things the click-through tutorials skip
Doing this for real surfaced three details worth writing down:
- A public repo skips all the git auth. Dokploy's dedicated GitHub provider wants its GitHub app installed first. If the repo is public, use the generic Git provider instead and paste the HTTPS URL; it clones with no key and no app. Then set the build type to your Dockerfile.
- The database's internal hostname has a random suffix. Dokploy names the postgres service something like
myproj-db-6iklvf, not the tidymyproj-dbyou typed, so a hand-written connection string silently fails to connect. Copy the exact Internal Connection URL off the database's page intoDATABASE_URLinstead of reconstructing it. - Set the domain's certificate to "none." TLS terminates at Cloudflare and port 80 is closed to the world, so Dokploy's built-in Let's Encrypt can never complete its ACME challenge and just errors. Turn cert provisioning off on the domain and let the edge handle TLS; point it at whatever port your app actually listens on.
Here is what came out the other end: a tiny todo app, deployed from Dokploy, reachable at its own hostname through the same tunnel, with the box still sealed. Its checklist happens to be this entire series.
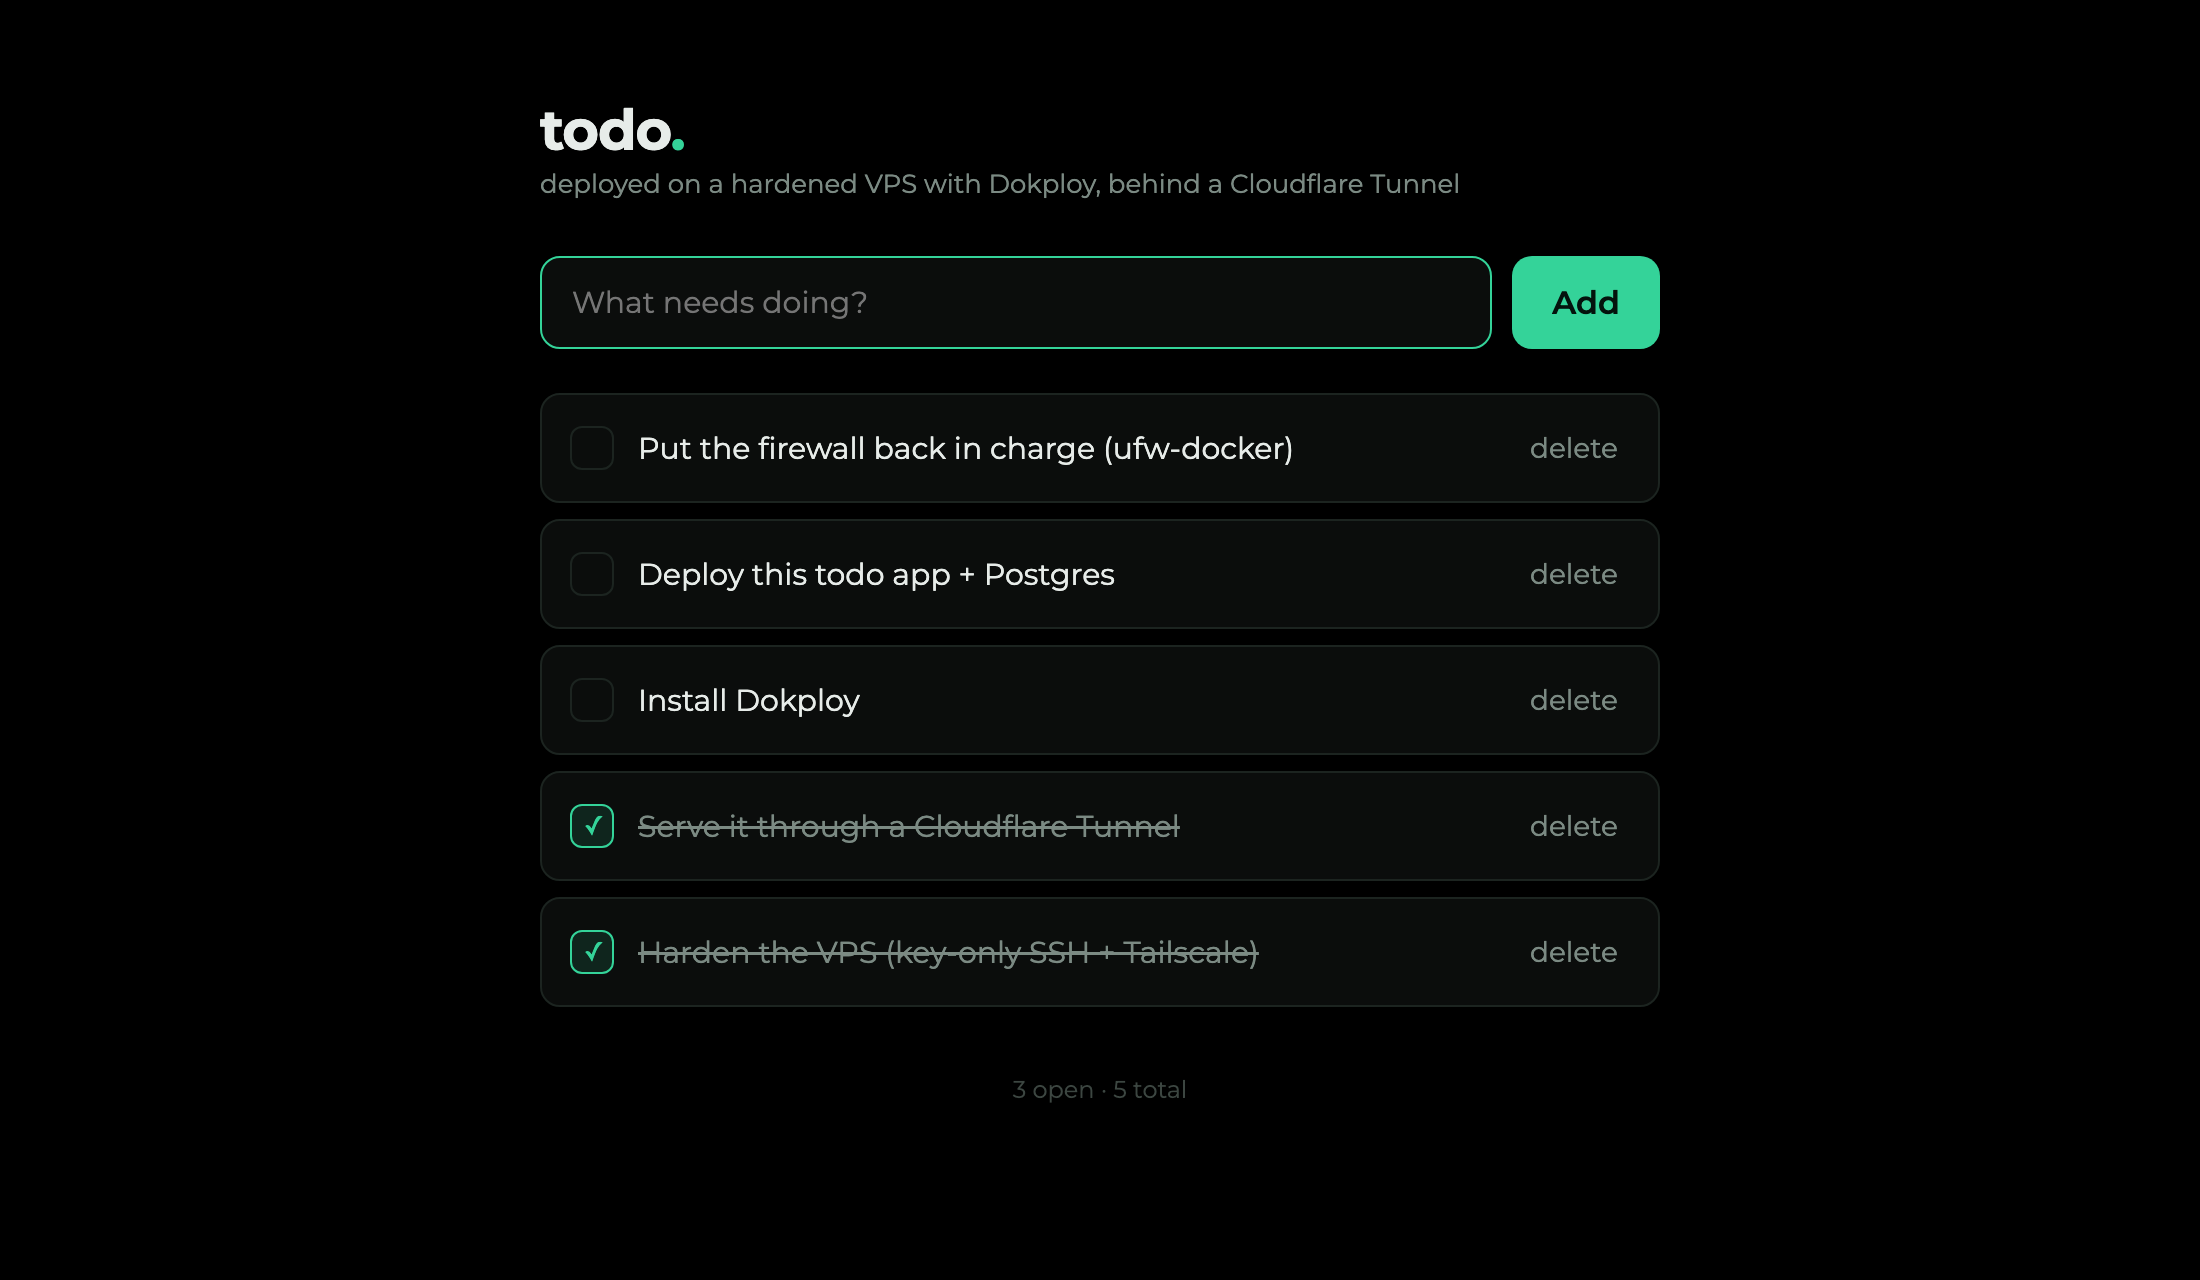 A deployed todo app subtitled "deployed on a hardened VPS with Dokploy, behind a Cloudflare Tunnel", whose checklist mirrors the series itself: harden the VPS and serve it through a Cloudflare Tunnel are checked off, while install Dokploy, deploy the app, and put the firewall back in charge are still open
The twist: install Docker, lose your firewall
After all this I did the thing part 1 trained me to do: I re-ran the external port scan from a machine off my tailnet, expecting the same empty result. Instead:
nmap -Pn -p 22,80,443,3000 203.0.113.42
# 22/tcp   filtered
# 80/tcp   open       <-- ???
# 443/tcp  open       <-- ???
# 3000/tcp open       <-- the Dokploy dashboard, on the public internet
Three ports I never opened were wide open, including the admin dashboard, directly on the public IP, bypassing the Cloudflare Access login entirely. UFW still said deny incoming. UFW was not lying exactly; it was being ignored.
Why UFW gets bypassed
Docker publishes container ports by writing its own iptables rules, and those rules live on a different path than UFW's. When a packet arrives for a published port, Docker's nat/PREROUTING rule rewrites the destination to the container and the packet is then forwarded to it. UFW's deny incoming lives in the INPUT chain, which handles traffic destined for the host itself. Forwarded-to-container traffic never traverses INPUT, so UFW's rule never even gets a vote.
 Before: a packet to a published port is DNAT'd and forwarded, skipping UFW's INPUT chain entirely, so the port is open; after ufw-docker, UFW rules sit in the DOCKER-USER chain on the forward path and drop it
This is the exact trap from the end of part 1, now concrete: a default-deny firewall provides no protection against a Docker-published port, and Dokploy published three. The dashboard one is the scary one, because Cloudflare Access only guards the hostname-through-the-tunnel path; the raw IP:3000 path goes around it.
The fix: put UFW back on Docker's path
Docker leaves one hook for exactly this: a chain called DOCKER-USER that it consults before its own accept rules, on the forward path. The community tool ufw-docker populates that chain from your UFW policy, so Docker-published ports obey UFW again:
sudo curl -fsSL https://github.com/chaifeng/ufw-docker/raw/master/ufw-docker \
  -o /usr/local/bin/ufw-docker
sudo chmod +x /usr/local/bin/ufw-docker
sudo ufw-docker install
sudo systemctl restart ufw
Then re-run the same external scan. Everything is filtered again:
nmap -Pn -p 22,80,443,3000 203.0.113.42
# 22/tcp   filtered
# 80/tcp   filtered
# 443/tcp  filtered
# 3000/tcp filtered
And crucially, the apps still work. The Cloudflare Tunnel reaches Traefik and the dashboard over loopback and the outbound link, not through the now-closed public ports, so cloudflared and Tailscale are completely unaffected. You only closed the direct-from-internet door, which nothing legitimate was using.
For one more layer, many providers offer a network-level firewall that sits upstream of the host (Hostinger has one in its panel). Docker's iptables rules cannot touch that, so a deny-all-inbound rule there is a backstop even if something on the box ever reopens a port. With a Cloudflare Tunnel doing all ingress, you can comfortably deny everything inbound at that layer too.
The series, in one breath
Three posts, one box:
- Part 1 sealed it: key-only SSH over Tailscale, deny-all firewall, nothing answering the public internet, proven from outside.
- Part 2 served the world anyway, through an outbound Cloudflare Tunnel, with no inbound ports, no exposed origin IP, and TLS at the edge.
- Part 3 put a real PaaS on it for push-button deploys, reached through the tunnel and gated by identity, then caught Docker reopening the firewall and put UFW back in charge with ufw-docker.
The thread running through all of it: outbound beats inbound, deny by default, and never trust a firewall you have not scanned from the outside. Especially on a Docker host, where the firewall you configured and the firewall that is actually running are not always the same thing.